Homemaking | The Proverbs 31 Woman At Home | Keeping House Fall Cleaning Checklist + Free Printable Guide
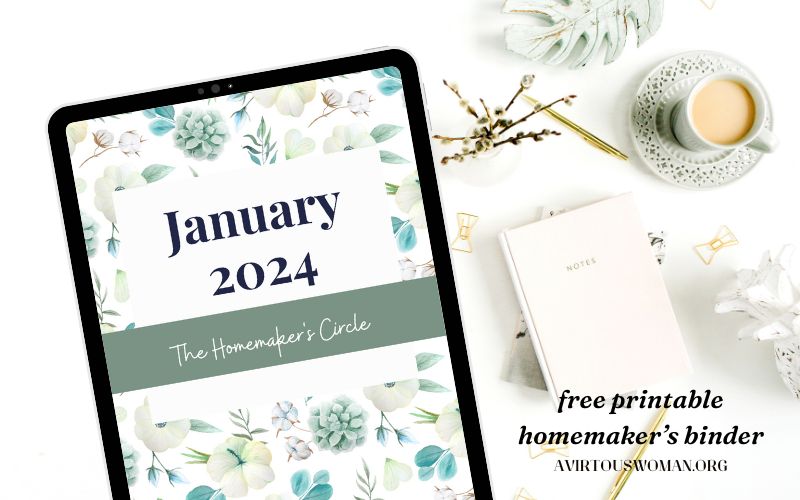
Homemaker's Society | Homemaking | The Proverbs 31 Woman At Home Free Printable Homemaking Binder for August 2024
Faith + Bible | Homemaking | The Proverbs 31 Woman At Home Embracing Hospitality: 5 Bible Verses about Opening Our Homes
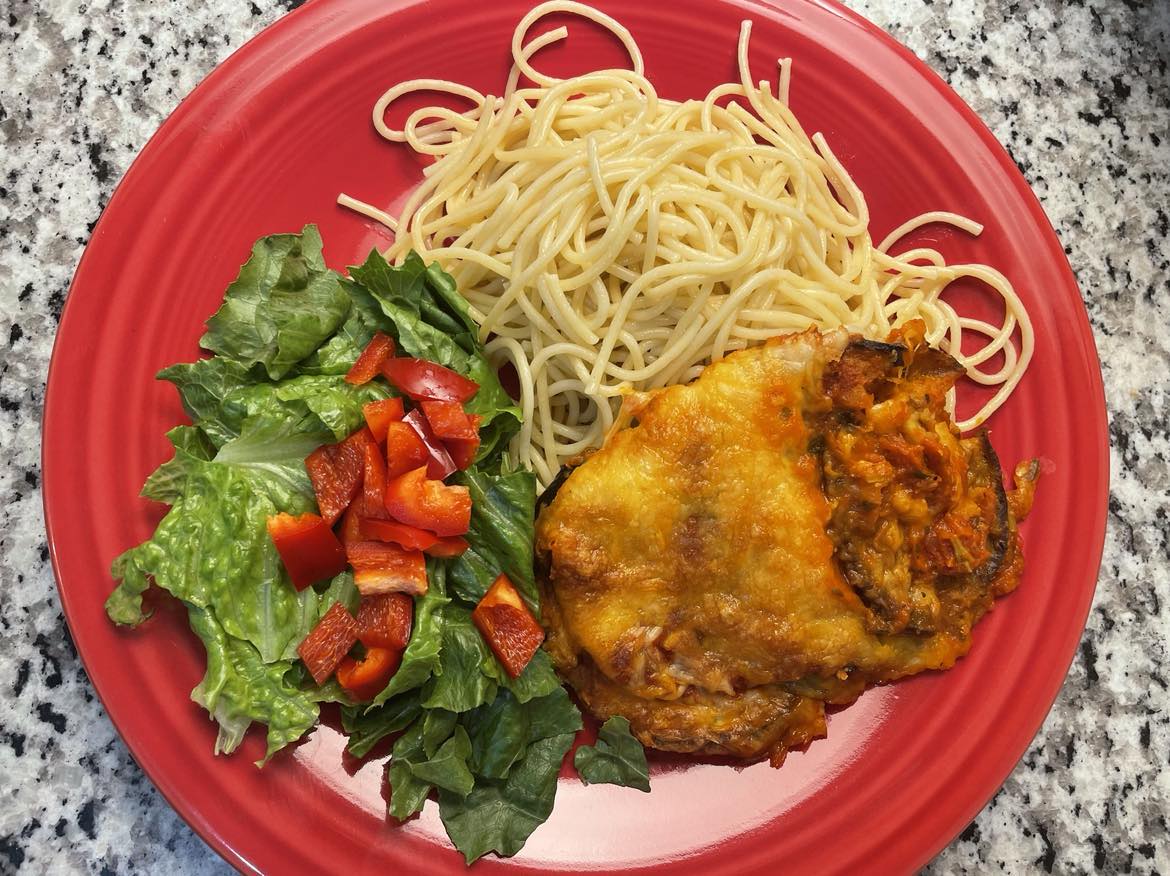
Homemaking | The Proverbs 31 Woman At Home | In the Kitchen | Menu Plans Eat at Home | Save Time and Money with Easy Meal Planning
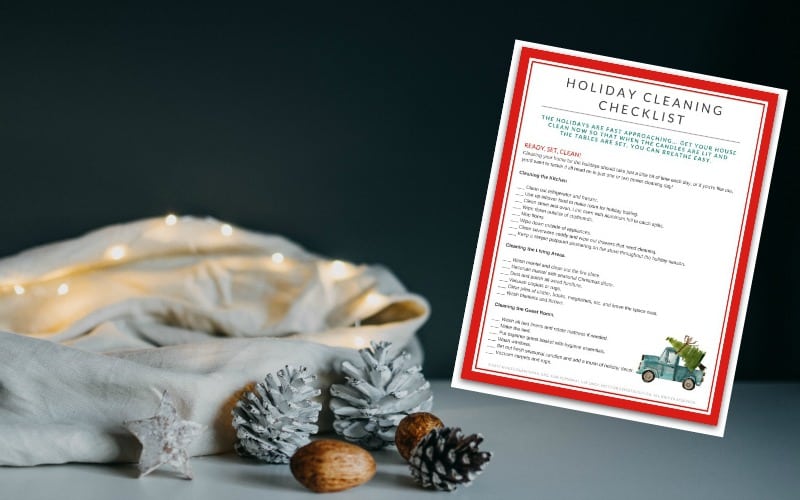
Homemaking | The Proverbs 31 Woman At Home | Keeping House Holiday Cleaning + Free Printable Checklist